
This article describes how to configure a client for the Standard 401k to July Services moov definition. Each client configuration will vary based on their plan specification and will need to be configured accordingly.
If you have not already done so, please add the Standard 401k to July Services moov to your account by following these steps.
Once the Standard 401k to July Services moov has been added to your account, access the moovs section on the left side menu and click on the Standard 401k to July Services moov.

The Standard 401k to July Services moov provides a notification for when the moov is complete. The notification can be sent to any email address you wish and can also be configured to sent to multiple email addresses.
To edit the notification step, click on the cog icon under the Action - Notify step on the left. Then toggle the "Use default parameters" off and enter in the email addresses you would like to receive the notification. If you would like to enter multiple email addresses, separate them with a comma. A Reply to email is also required in the event that a recipient of the notification replies to the email.

Note: these settings apply to any client configuration you set up for this specific moov. You also have the ability to configure the notification step for each client configuration if you wish to add or remove email addresses per client.
To save your parameters click on the Save Changes button.
In the moov configuration section, click the Add button to add a new client to send retirement data to July Services.

Client/Entity - either select an existing client or click the + sign to create a new client.
Status - the status field is important when configuring a new integration with July Services as it provides the correct SFTP directory used to send to July services while in their testing phase. This field should be set to 'Testing' until the testing phase has been completed.
Expected Frequency - the client's payroll frequency
File Name Starts With - typically the client or company code within your payroll platform. The value entered into this field is important as the file you send to detamoov must start with this value.
File Name Contains - optional value that is included in the file name

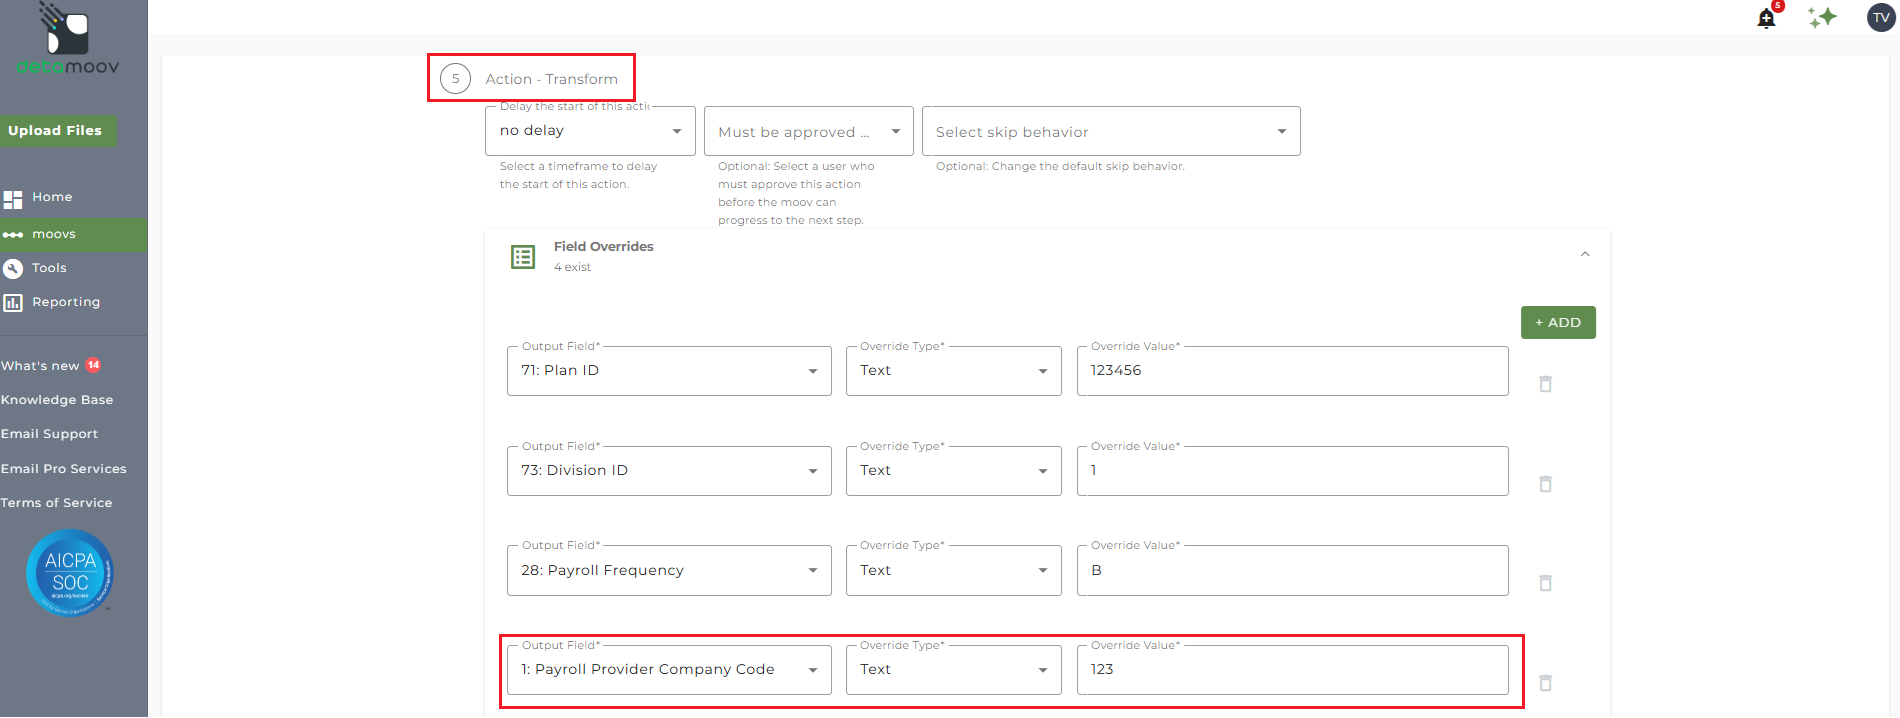
July Services requires that the Plan ID be included in sent to them. If you do not store the Plan ID in payroll then you will need to add a Field Override for the Plan ID field.
To add a Field Override, locate the Action - Transform step, expand the Field Overrides panel and click the Add button. Then select the appropriate Output field, set the Override Type to Text and enter the Override Value.

If July Services also provides a Division ID for your client's plan, you will need to provide a Field Override for the Division ID field.

July Services also requires that the Payroll Frequency be included in the file sent to them. The Payroll Frequency code is the payroll frequency for the client and can be determined here:
Weekly = W
Bi-Weekly = B
Semi-Monthly = S
Monthly = M
Annually = A
To add a Field Override, locate the Action - Transform step, expand the Field Overrides panel and click the Add button. Then select the appropriate Output field, set the Override Type to Text and enter the Override Value.

If you use the PrismHCM platform, a field override is required to provide the Payroll Provider Company Code value.
To add a Field Override, locate the Action - Transform step, expand the Field Overrides panel and click the Add button. Then select the appropriate Output field, set the Override Type to Text and enter the Override Value.
If you are a UKG Ready user and an employee was not paid in the current pay period, a field override is needed to provide the Pay Period Begin Date, Pay Period End Date, and Payroll Check Date. detamoov has provided custom fields that take the existing dates from the source file and allow you to apply them to the missing fields.
To provide the override custom fields click the Add button and create a field override for the Pay Period Begin Date, Pay Period End Date, and Check Date. Select the appropriate field from the Output Field dropdown, change the Override Type to Custom Field, and then select the Custom field from the dropdown menu as shown below.

If your client's plan does not include a Division ID, then you will need to remove the Division value from the file name. To remove this value, locate the Action - Name File step and toggle the "Use default parameters" off. Then locate the the Division ID | 73 and the underscore (_) Naming Components and click the trashcan icon.
NOTE: only override the file name step if your client's plan does NOT have a Division ID.

At the beginning of this article you configured the notification step for the moov to send a notification once the moov had completed. You also have the ability to configure the notification step for each client configuration if you wish to add or remove email addresses per client.
To override the notification step, locate the Action - Notify step and toggle the "Use default parameters" off and enter/remove email addresses from Email Address and Reply To fields. If you would like to enter multiple email addresses, separate them with a comma.

To complete the configuration for your client, click the Next button at the bottom of the page and then the Save button on the moov summary page.

